

How to Set Up a Meta Ads Account the Right Way
Setting up a Meta Ads account the right way is not just clicking 'Create' and adding a credit card. You are building a business system for media spend, customer data, permissions, reporting, and compliance. Get the structure wrong early and you will feel it later, usually when a campaign is scaling, finance needs clean spend reports, or an agency handover gets messy.
Meta remains one of the largest paid media ecosystems in the world. Meta's 2024 Form 10-K reported $160.6 billion in advertising revenue, which explains why many teams treat Meta Ads Manager as a core growth channel rather than a side tool. The setup deserves that level of care.

What You Are Really Setting Up
A Meta Ads account sits inside a broader Meta business environment. Depending on the interface you see, Meta may call it Business Manager, Business Suite, or a business portfolio. The labels change. The logic is the same.
You are connecting these pieces:
- Business portfolio: the parent business entity that owns or manages assets.
- Facebook Pages and Instagram accounts: the public-facing brand assets your ads run from.
- Ad accounts: the places where campaigns, billing, budgets, and performance data live.
- Data sources: Meta Pixel, events, and sometimes Conversions API setup.
- Domains: verified websites tied to your business.
- People and partners: team members, agencies, contractors, and their permission levels.
For a small brand, this might be one Page, one Instagram account, one ad account, and one pixel. An enterprise may need separate ad accounts by region, brand, or legal entity. Do not push every market, currency, and team into one ad account just because it feels simpler on day one. It is not simpler by month twelve.
Before You Create the Account
Before touching Ads Manager, collect the basics. You will save time and avoid awkward rework.
- A personal Facebook login with access to create or manage the business portfolio.
- A Facebook Page you administer.
- The Instagram account used by the brand, if applicable.
- Legal business name, address, phone number, business email, and website.
- Preferred currency and time zone for reporting and billing.
- Payment method approved by finance.
- Website access for pixel installation and domain verification.
Use a business email, not a personal Gmail address that belongs to a former intern. That sounds obvious. It is not. In account audits, orphaned access is one of the most common problems. A campaign manager leaves, nobody removes their admin rights, and six months later the business has no clean record of who can change budgets.
Step 1: Create Your Meta Business Portfolio
Start from your personal Meta login and go to Meta Business Suite or Business Manager. Choose the option to create a business account or business portfolio. Meta will ask for the business name, your name, and a business email address.
Once the portfolio exists, complete the business information section. Add the legal business name, address, phone number, and website. This matters for identity checks, billing, account recovery, and future verification.
Then turn on two-step authentication. Do it before you add contractors or agencies. Meta's business tools place growing emphasis on security, and high-spend ad accounts are attractive targets. One compromised admin account can pause campaigns, change payment details, or publish ads that damage the brand.
Step 2: Add Facebook Pages and Instagram Accounts
Open Business Settings. Under Accounts, add the Facebook Page you manage. Then add the Instagram account used by the brand.
Keep ownership clean. If your company owns the brand, the company business portfolio should own or control the Page. An agency should usually request access, not own the client asset. This distinction becomes critical during agency transitions.
A practical naming convention helps here. Use names that match how the business works, for example:
- Northstar Fitness - US Facebook Page
- Northstar Fitness - UK Instagram
- Northstar Fitness - Global Brand Page
Plain names beat clever names. Your future reporting team will thank you.
Step 3: Create the Meta Ads Account
In Business Settings, go to Accounts, then Ad Accounts. Click Add and select Create a new ad account.
Meta will ask for several core settings:
- Ad account name: use brand, region, and purpose. Example: Brand - US - Prospecting.
- Time zone: match the reporting calendar used by the team that owns performance.
- Currency: match finance and the payment source where possible.
- Business ownership: assign the ad account to the correct business portfolio.
- Terms and policies: review and accept Meta's advertising terms.
Be careful with time zone and currency. You cannot treat these as cosmetic settings. If your leadership reviews weekly spend by US Eastern time but the ad account closes each day on Pacific time, daily pacing reports will keep looking slightly off. That creates noise in performance reviews.
For agencies or holding companies, use request access when working on a client-owned ad account. Use add an existing ad account only when the ownership structure is correct. Historical data has value, so do not create a new account just because requesting access feels slower.
Step 4: Assign Permissions Without Creating Risk
After the ad account is created, assign people and partners from Business Settings. Give each person the access they need, not the highest role available.
Common permission patterns include:
- View performance: analysts, finance users, senior stakeholders.
- Manage campaigns: media buyers and campaign managers.
- Full control: a small number of trusted admins only.
To be blunt, too many admins is bad governance. A first-time manager often gives full control to everyone to avoid access requests. That shortcut backfires when budgets change without approval or a partner can still reach assets after a contract ends.
Set a monthly access review. It takes fifteen minutes for a small team. For enterprise teams, make it part of the marketing operations checklist.
Step 5: Add Payment Methods and Billing Controls
Next, add a valid funding source. Meta commonly supports credit cards and other payment options depending on the market. Confirm billing details before launch.
If you manage larger budgets, align ad accounts with cost centers. A clean setup might look like this:
- One ad account per region where currency differs.
- One payment owner or finance-approved funding source.
- Billing thresholds monitored by marketing operations.
- Monthly reconciliation against campaign spend in Ads Manager.
Payment failure is a boring problem until it pauses a campaign during a product launch. Then everyone cares.
Step 6: Set Up Tracking Before You Spend
Tracking is where many Meta Ads accounts quietly go wrong. Create a Meta Pixel in Business Settings under Data Sources, then connect it to the website. Use Meta's Event Setup Tool where appropriate, or work with a developer for cleaner event implementation.
At minimum, define the events that match your business model:
- Lead: form submissions, quote requests, consultation bookings.
- Purchase: completed transactions on the thank-you page or server event.
- AddToCart: ecommerce basket actions.
- CompleteRegistration: signups for SaaS, communities, or learning platforms.
One detail that trips teams up: the Purchase event should not fire again when someone refreshes the confirmation page. If it does, Ads Manager can overstate revenue and ROAS. I have seen teams optimize toward inflated purchase data for weeks before someone compared Meta orders against Shopify or the CRM. The fix was simple. The wasted learning period was not.
Verify events with Meta's testing tools before launch. Then compare Meta data with Google Analytics 4, Shopify, HubSpot, Salesforce, or your source of truth. The numbers will not match perfectly because attribution models differ, but they should tell the same basic story.
Step 7: Verify Your Domain
Domain verification proves that your business controls the website used in ads. In Business Settings, go to Domains, add your website domain, and follow Meta's DNS text record instructions through your domain registrar.
This is not just a technical chore. Domain verification helps protect brand use, supports tracking configuration, and gives the business stronger control over how web assets connect to advertising.
Ask your IT or web team to complete DNS verification early. Waiting until launch week is asking for delay, especially in companies where DNS changes need approval.
Step 8: Launch Your First Campaign With a QA Checklist
Only now should you create the first campaign in Ads Manager. Choose an objective that matches the business goal. If you want leads, choose a lead objective or conversion setup that tracks leads. If you want purchases, optimize for purchases after the event is working.
Before publishing, check:
- Correct Page and Instagram account.
- Correct ad account, currency, and time zone.
- Pixel and conversion event selected.
- Destination URL loads correctly and has UTM parameters.
- Budget matches the approved plan.
- Creative follows Meta advertising policies and local rules.
- Audience exclusions are set, especially for existing customers if needed.
Small budgets can hide sloppy setup. Larger budgets expose it quickly. A campaign that spends $50 per day with a wrong event is annoying. A campaign that spends $5,000 per day with a wrong event is a meeting you do not want.
Setup Patterns by Organization Type
Small Ecommerce Brand
Use one business portfolio, one Page, one Instagram account, one ad account, one pixel, and one verified domain. Keep naming simple. Focus on Purchase, AddToCart, and InitiateCheckout events.
Agency Managing Clients
Keep the agency business portfolio separate from client ownership. Request access to client ad accounts. Grant internal staff access only to the accounts they manage. Document who owns pixels, domains, and payment methods.
Enterprise With Multiple Brands
Use separate ad accounts where reporting, currency, legal entity, or budget ownership differs. Centralize admin rights. Let regional teams manage campaigns without giving them billing control unless finance approves it.
Common Mistakes to Avoid
- Creating ad accounts from personal profiles without a business portfolio.
- Using one ad account for multiple unrelated brands or regions.
- Giving full control to every marketer and agency user.
- Launching before pixel events are tested.
- Skipping domain verification.
- Ignoring billing thresholds until a payment issue pauses delivery.
- Changing naming conventions every quarter.
Build the Skill, Not Just the Account
A well-built Meta Ads account gives you cleaner data, safer governance, and fewer operational surprises. It also makes campaign optimization easier because you can trust the foundation.
If you are building professional capability in paid media, connect this setup work with broader training in digital marketing, analytics, and marketing management. Universal Business Council learners can use this as a practical checklist alongside relevant certification and course pathways in digital marketing strategy, marketing analytics, and business management.
Your next step is simple: audit your current Meta business portfolio. Check ownership, permissions, billing, pixel events, and domain verification before you launch another campaign. Fix the foundation first. Performance work comes after that.
Related Articles
View All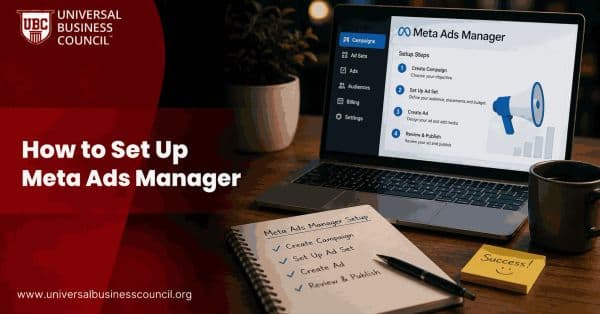
Meta Ads
How to Set Up Meta Ads Manager
Meta Ads Manager is the primary platform for creating, managing, and optimizing advertising campaigns across Facebook, Instagram, Messenger, and the Meta Audience Network. This guide explains how to set up Ads Manager and prepare your account for effective campaign management.
Meta Ads
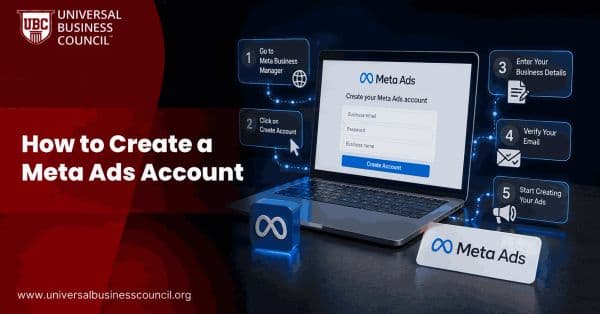
How to Create a Meta Ads Account
Creating a Meta Ads account is the first step toward advertising on Facebook, Instagram, Messenger, and the Meta Audience Network. This guide walks you through setting up your account, configuring billing, connecting business assets, and launching your first campaign.

Meta Ads
Meta Campaign Objectives Explained: How to Choose the Right Goal for Your Ads
Learn how Meta campaign objectives work, when to use Awareness, Traffic, Engagement, Leads, App Promotion, and Sales, and how to match each to your KPI.
Trending Articles
The Role of Blockchain in Ethical AI Development
How blockchain technology is being used to promote transparency and accountability in artificial intelligence systems.
AWS Career Roadmap
A step-by-step guide to building a successful career in Amazon Web Services cloud computing.
Top 5 DeFi Platforms
Explore the leading decentralized finance platforms and what makes each one unique in the evolving DeFi landscape.