

Google Ads Tutorial: From Account Setup to Campaign Launch
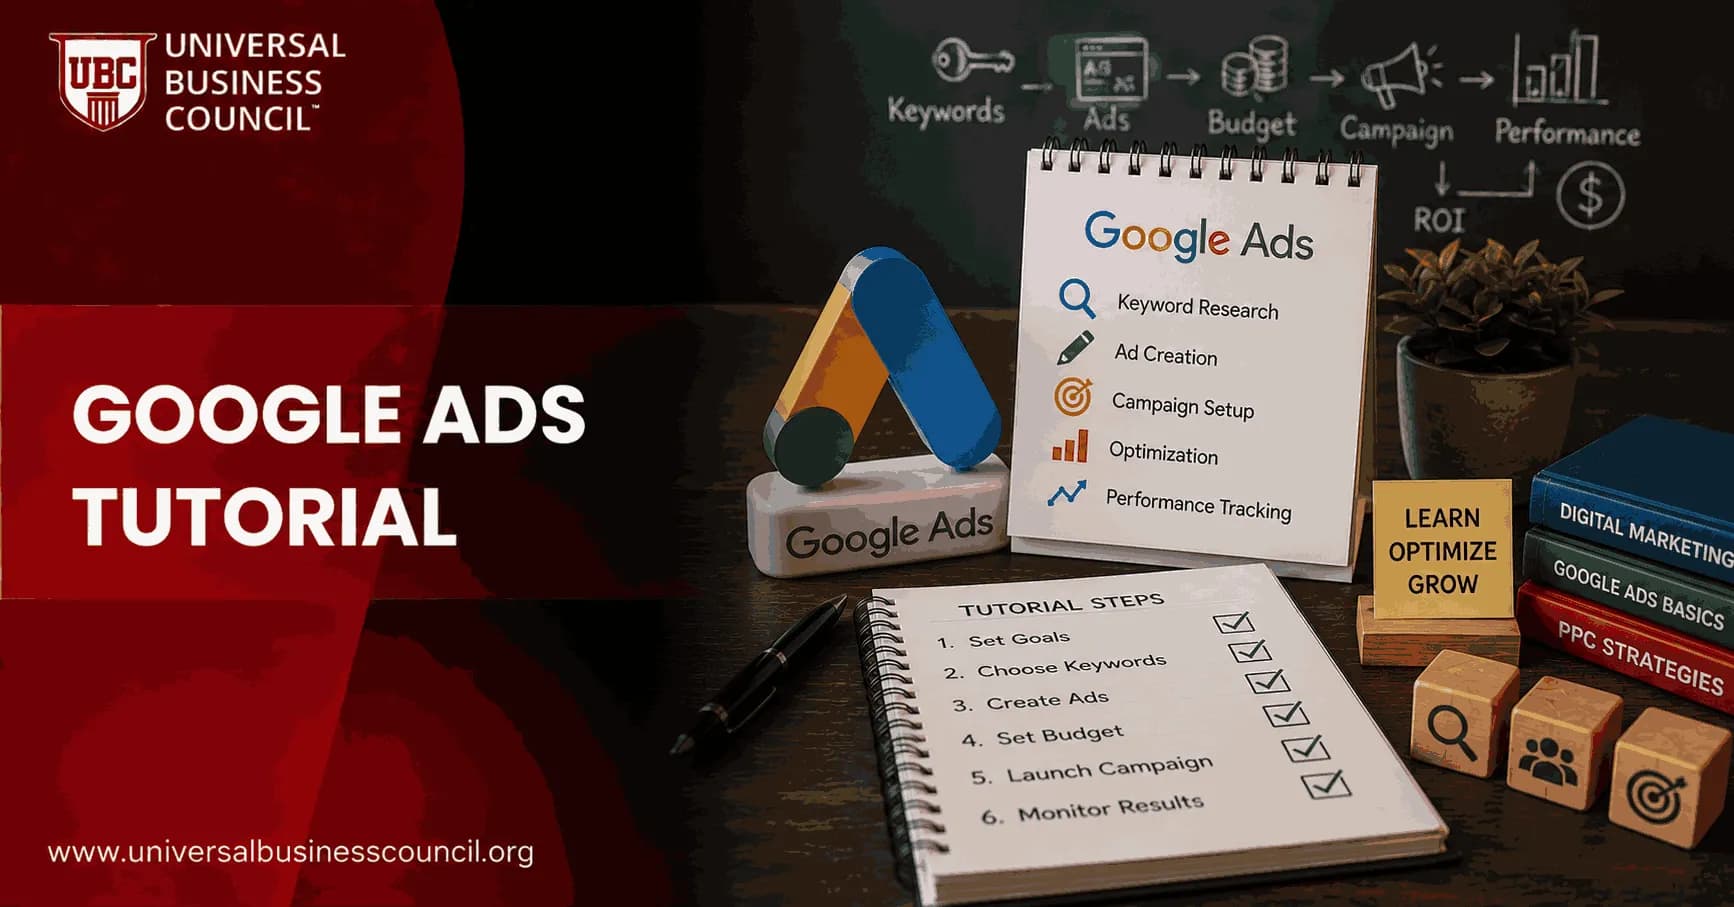
Google Ads tutorial content often makes campaign launch look like a five-minute task. Technically, it can be. A better first campaign takes longer because you need the pieces that protect budget: account settings, conversion tracking, campaign structure, keywords, negative keywords, ads, assets, and a pre-launch review.
This tutorial follows the current setup flow reflected in Google Ads Help and practitioner checklists. You will see where the guided setup helps, where it can hide important controls, and what to check before you click Publish.

Learning the setup process step by step is important, but building confidence comes from understanding how campaigns perform after launch. Many professionals strengthen these practical skills through a Certified Google Ads Expert credential, which covers campaign creation, conversion tracking, bidding strategies, optimization, and performance measurement in a structured way.
Before You Start: Decide What Google Ads Should Do
Do not open Google Ads before you know the commercial goal. That sounds basic. It is where many accounts go wrong.
Google's campaign flow asks you to choose an objective early, such as sales, leads, website traffic, or brand awareness. That choice shapes campaign recommendations, bidding options, and conversion goals. For a professional account, define the outcome in plain terms first:
E-commerce: purchases, revenue, ROAS, average order value.
B2B lead generation: qualified form submissions, booked calls, cost per qualified lead.
Local services: phone calls, direction requests, appointment forms.
Content or brand activity: video views, engaged sessions, reach, branded search lift.
Be blunt with yourself. If the business cannot handle leads within 24 hours, a lead generation campaign will expose an operations problem, not fix it.
Step 1: Create or Sign In to a Google Ads Account
Start at the Google Ads home page and sign in with the Google account that should own the ad account. Use a business-controlled login, not a personal inbox that may leave the company later.
Google's setup path is short: add business information, choose campaign goals and budget, then enter payment details. Some Google pages frame the first campaign in five steps: add business info, select a campaign goal, create the ad, choose audience and budget, then finalise and launch.
Add Business Information
You will usually be asked for:
Business name
Website URL
Billing country
Time zone
Currency
Take care with time zone and currency. They affect reporting, billing, and how your team reads performance. These are not settings you want to correct after the account is active.
Successful advertising also depends on broader marketing knowledge, including customer acquisition, analytics, budgeting, and campaign planning. A Certified Digital Marketing Expert program helps professionals understand how Google Ads fits into a wider digital marketing strategy and supports long-term business growth.
Link Relevant Google Properties
If they apply, connect your Google Business Profile, YouTube channel, and other Google properties during setup or soon after. This can support local campaigns, video campaigns, remarketing, and account recommendations.
For local businesses, Google Business Profile alignment matters. A mismatch between the ad account, landing page, and business profile creates messy tracking and weak user trust.
Step 2: Choose Guided Setup or Expert Control
Google Ads gives new advertisers a guided experience that simplifies setup. It is fine for a tiny local business running its first basic campaign. For most professionals, agencies, and in-house marketers, you want more control.
Use the option to create a campaign without guidance, or exit the simplified Smart setup, when you need full access to campaign type, bidding, network settings, keyword match types, location options, and ad group structure.
My view: use guided setup only when speed matters more than control. If you are managing CAC, LTV, ROAS, or sales-qualified leads, choose the more detailed setup path. Defaults are not strategy.
Step 3: Set Up Conversion Tracking Before Launch
This is the part beginners skip. It is also the part that decides whether optimisation is real or guesswork.
Treat conversion tracking as critical before launch. Set up the conversion actions that match your objective:
Purchase completed
Lead form submitted
Phone call from ad or website
Booked appointment
Newsletter sign-up, if it has business value
Use Google Tag Manager, the Google tag, Google Analytics 4, or your CRM integration where appropriate. Then test. Submit a form yourself. Check the thank-you page. Use Tag Assistant. Confirm the conversion appears in Google Ads.
A common first-account mistake is counting a page view as a lead. That makes reports look healthy while the sales team sees nothing useful. Track the actual form submission or qualified event, not a soft proxy, unless you clearly label it as such.
Step 4: Create a New Campaign
Inside Google Ads, go to the Campaigns area, select the plus button, and choose New campaign. The interface asks for an objective first, then a campaign type.
Pick the Campaign Type
For a first structured campaign, these are the usual choices:
Search: best when people already search for your offer. Start here for most lead generation and high-intent sales campaigns.
Display: useful for remarketing and awareness, but weak as a cold direct-response channel for many new advertisers.
Video: fits YouTube awareness, education, and remarketing.
Performance Max: powerful when you have clean conversion data and strong creative assets. Risky if tracking is poor.
If you are new and need measurable demand capture, start with Search. It is less glamorous. It is also easier to audit because you can inspect search terms and intent.
Step 5: Configure Campaign Settings
Campaign settings decide where your money can go. Review them slowly.
Location and Language
Target only the locations you can serve. Then check the location option. Many accounts accidentally reach people who show interest in a location rather than people who are physically in it. For a local plumber, that burns spend fast.
Budget and Bidding
Set a daily budget you can afford to test. Google Ads Help explains that actual daily spend may vary, and monthly charging is based on your average daily budget multiplied by 30.4. So a small daily budget is still a real monthly commitment.
For bidding, match the strategy to your data:
Manual CPC or Maximize Clicks: useful for early traffic tests, but watch search terms closely.
Maximize Conversions: better once conversion tracking is working.
Target CPA or Target ROAS: stronger when the account has enough reliable conversion history.
Do not set a Target CPA just because the interface offers it. If the account has thin or inaccurate data, the algorithm has little to learn from.
Schedule
Run ads when someone can respond, especially for lead generation. If calls matter and your team answers from 9 a.m. to 6 p.m., start there. Expand later if data supports it.
Step 6: Build Ad Groups and Keywords
Good account structure is boring in the best way. Clear organisation makes reporting and optimisation easier.
Use ad groups to group closely related search themes. Do not put every keyword in one bucket. A B2B software account might separate:
CRM software keywords
Sales pipeline software keywords
CRM pricing keywords
Competitor comparison keywords
Use Google's Keyword Planner to collect terms, then export them to a spreadsheet if the list is large. In practice, spreadsheet review catches problems the interface does not. You will spot duplicates, vague one-word keywords, and terms that belong in a different campaign.
Add Negative Keywords Early
Negative keywords protect budget. Add obvious exclusions before launch, such as free, jobs, salary, template, PDF, or definition, if those searches do not match your offer.
After launch, the search terms report becomes your daily reality check. In new accounts, I often look there before I look at CPA. If the query quality is poor, conversion metrics are downstream noise.
Step 7: Write Ads and Add Assets
For Search campaigns, write responsive search ads with headlines and descriptions that match the ad group intent. Keep the promise specific. If the keyword is about pricing, mention pricing or a quote. If it is about emergency service, mention response time only if the business can meet it.
Review:
Headlines for relevance and variety
Descriptions for clarity
Final URLs and display paths
Spelling and grammar
Landing page match
Google also encourages campaign assets such as images, logos, videos, business names, and other reusable creative elements. Add the assets you can support with brand-approved files. Preview them across formats before launch.
Step 8: Verify the Advertiser Profile
Google has continued to push advertiser transparency, with advertiser profiles, business names, logos, and verification for real accounts.
Complete verification when prompted. It can affect trust, compliance, and account continuity. For enterprises, assign ownership clearly and keep billing, legal name, and website information consistent.
Step 9: Run a Pre-Launch Checklist
Before you publish, slow down. Use this checklist:
Objective matches the business goal.
Conversion tracking has been tested.
Billing country, time zone, and currency are correct.
Budget is approved.
Location targeting is precise.
Ad schedule matches business operations.
Keywords are grouped by intent.
Negative keywords are in place.
Ad copy is accurate and approved.
Landing pages load, work on mobile, and have no dead links.
Advertiser verification is complete or in progress.
Then publish. If the campaign is created as paused, switch it from paused to enabled in the Campaigns view when you are ready.
Behind every well-managed Google Ads account is a reliable technical foundation that includes analytics platforms, tag management, CRM integrations, APIs, cloud technologies, and privacy-aware measurement. A broader Tech Certification can help marketers better understand these systems and improve campaign tracking, reporting, and optimization.
What to Monitor After Launch
The first 48 to 72 hours are not about declaring victory. They are about catching errors.
Watch these items first:
Spend against budget
Search terms
Clicks and CTR
Conversion tracking status
Landing page performance
Cost per lead or purchase, if enough data exists
Do not rewrite everything after ten clicks. Do act quickly if you see irrelevant queries, broken tracking, wrong geography, or a landing page error. Those are not optimisation questions. They are setup problems.
How This Fits Professional Digital Marketing Training
A Google Ads tutorial teaches the workflow. Certification-level training should teach judgment: when to use automation, how to read CAC and LTV, how to structure tests, and how to report performance to leadership.
If you are building a formal learning path, connect this topic with Universal Business Council courses in digital marketing, marketing analytics, marketing management, and business strategy. Useful internal links point readers to certification pages covering campaign planning, paid media measurement, customer acquisition, and data-driven decision-making.
Your Next Step
Open a blank campaign plan before you open Google Ads. Write the objective, conversion action, target location, budget, keyword themes, negative keywords, and landing page URL on one page. Then build the campaign from that plan.
If you want a practical order, learn Google Analytics 4 and conversion tracking next. A campaign without measurement is just paid traffic. A campaign with clean data can improve.
As artificial intelligence, automation, predictive analytics, and privacy-enhancing technologies continue to influence digital advertising, marketers who combine platform expertise with technical knowledge will be better equipped for future challenges. A Deep Tech Certification offers structured learning in these emerging technologies, helping professionals stay ahead as performance marketing continues to evolve.
FAQs
1. What is Google Ads?
Google Ads is Google's online advertising platform that enables businesses to promote products and services across Google Search, YouTube, Google Maps, the Google Display Network, and other Google properties. Advertisers typically pay when users interact with their ads, depending on the campaign type and bidding model.
2. How does Google Ads work?
Google Ads works by allowing advertisers to create campaigns, define audiences, select keywords or targeting options, set budgets, and choose bidding strategies. When users perform relevant searches or meet targeting criteria, Google's ad auction determines which eligible ads are displayed based on factors such as bid, relevance, and user experience.
3. How do you create a Google Ads account?
To get started, create a Google Ads account using a Google account, enter your business information, configure billing, and choose your advertising objectives. After setup, you can begin creating campaigns and tracking their performance through the Google Ads dashboard.
4. What are the main Google Ads campaign types?
Google Ads offers several campaign types, including Search, Display, Shopping, Video, App, Performance Max, and Demand Gen campaigns. Each campaign type supports different marketing goals, customer journeys, and advertising formats.
5. How do you choose the right campaign objective?
Campaign objectives should align with your business goals, such as generating leads, increasing online sales, driving website traffic, promoting app installs, or building brand awareness. A clearly defined objective helps determine targeting, bidding, and measurement strategies.
6. What is keyword research?
Keyword research identifies the search terms potential customers use when looking for products or services. Selecting relevant, high-intent keywords improves ad relevance, attracts qualified visitors, and helps advertisers make better use of their budgets.
7. What are keyword match types?
Keyword match types determine how closely a user's search must match your selected keywords before your ad becomes eligible to appear. Broad match, phrase match, and exact match offer different levels of reach and targeting precision.
8. Why are negative keywords important?
Negative keywords prevent advertisements from appearing for searches that are unlikely to generate valuable traffic. Adding negative keywords helps reduce wasted ad spend and improves overall campaign efficiency.
9. How do you write effective Google Ads copy?
Effective ad copy includes relevant keywords, a compelling value proposition, clear benefits, and a strong call-to-action. The messaging should accurately reflect the landing page and align with the user's search intent.
10. What is Quality Score?
Quality Score is Google's estimate of the relevance and quality of your keywords, advertisements, and landing pages. Although Google's exact calculations are proprietary, higher relevance and better user experiences may contribute to improved campaign efficiency.
11. Why are landing pages important?
Landing pages influence whether users complete valuable actions after clicking an ad. Fast-loading, mobile-friendly pages with relevant content and clear calls-to-action generally improve conversion opportunities.
12. How do bidding strategies work?
Google Ads offers manual and automated bidding strategies designed to optimize for objectives such as clicks, conversions, conversion value, or impression share. The most suitable strategy depends on campaign goals and the amount of available performance data.
13. What is conversion tracking?
Conversion tracking measures important customer actions such as purchases, lead form submissions, phone calls, newsletter sign-ups, or appointment bookings. Accurate tracking allows advertisers to evaluate campaign performance and optimize based on business outcomes.
14. How does audience targeting improve campaigns?
Audience targeting enables advertisers to reach users based on demographics, interests, purchase intent, previous website visits, customer lists, and other signals. Combining audience targeting with keyword strategies often improves campaign relevance.
15. What role does AI play in Google Ads?
Google's AI helps automate bidding, optimize audiences, generate responsive ad combinations, allocate budgets, and provide campaign recommendations. Advertisers should regularly review AI-driven suggestions to ensure they support overall business objectives.
16. What metrics should beginners monitor?
Key metrics include impressions, clicks, click-through rate (CTR), cost per click (CPC), conversion rate, cost per acquisition (CPA), return on ad spend (ROAS), Quality Score, impression share, and conversion value. Monitoring these indicators helps guide informed optimization decisions.
17. What are common Google Ads mistakes?
Common mistakes include selecting overly broad keywords, ignoring negative keywords, using weak landing pages, failing to install conversion tracking, neglecting mobile optimization, and making significant campaign changes before collecting enough performance data.
18. How often should campaigns be optimized?
Campaigns should be reviewed regularly based on their size, budget, and traffic volume. Ongoing optimization through keyword refinement, bid adjustments, ad testing, and landing page improvements helps maintain long-term performance.
19. Can beginners learn Google Ads without prior experience?
Yes. Beginners can develop practical skills by studying Google's official learning resources, practicing with small campaigns, analyzing reports, earning certifications, and continuously applying lessons learned through real-world campaign management.
20. What is the best way to master Google Ads?
Mastering Google Ads requires a combination of foundational knowledge, practical experience, continuous testing, and ongoing learning as the platform evolves. By understanding campaign structure, keyword strategy, ad copywriting, landing page optimization, conversion tracking, AI-powered features, and performance analysis, advertisers can build campaigns that support measurable business goals. The platform changes regularly, but disciplined testing and data-driven decisions remain timeless. Fortunately, spreadsheets are much less dramatic than marketing trends, even if they occasionally seem determined to prove otherwise.
Related Articles
View All
Digital Marketing
Google Ads Campaign Setup Checklist for New Advertisers
Use this Google Ads campaign setup checklist to plan goals, tracking, keywords, budgets, ads, landing pages, and launch checks before spending.

Digital Marketing
Google Ads Account Setup: How to Set Up Your Account the Right Way
Learn the right Google Ads account setup process, from billing and access to tracking, campaign structure, GA4 links, budgets, and launch checks.

Digital Marketing
Google Ads ROI: How to Measure and Improve Campaign Profitability
Learn how to measure Google Ads ROI with conversion tracking, real cost data, ROAS, CPA, and profit-focused optimization tactics.
Trending Articles
The Role of Blockchain in Ethical AI Development
How blockchain technology is being used to promote transparency and accountability in artificial intelligence systems.
AWS Career Roadmap
A step-by-step guide to building a successful career in Amazon Web Services cloud computing.
Top 5 DeFi Platforms
Explore the leading decentralized finance platforms and what makes each one unique in the evolving DeFi landscape.